Introduction: The Overlooked Importance of Water Heater Maintenance
When was the last time you performed maintenance on your water heater? If the answer is “never” or “I don’t remember,” you are not alone. Many homeowners overlook this essential household task until problems arise — often in the form of cold showers, rising energy bills, or unexpected leaks.
Yet, maintaining your water heater isn’t just about comfort; it’s about longevity and efficiency. The U.S. Department of Energy (DOE) notes that heating water typically accounts for about 18% of a home’s total energy consumption making it the second-largest energy expense for most households. Neglecting maintenance can reduce your system’s efficiency by up to 25% and cut its lifespan nearly in half.
This comprehensive guide will explain why regular water heater maintenance matters, how to perform it step by step, and what practices will keep your system running efficiently for years to come.
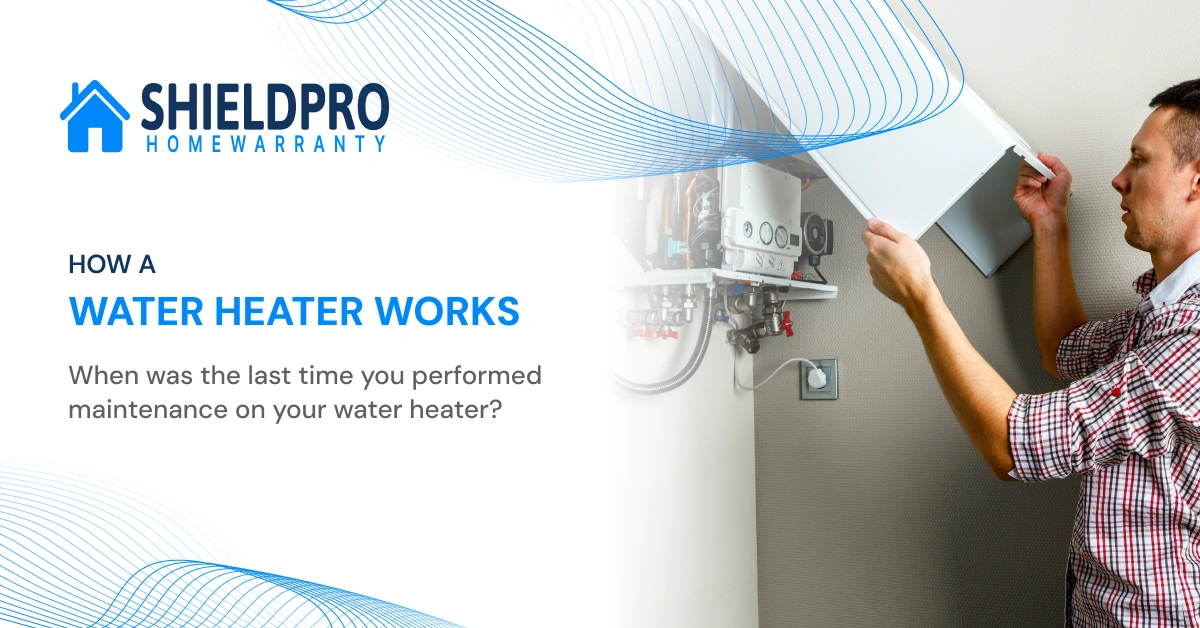
How a Water Heater Works
Before performing maintenance, it’s important to understand the basic mechanics of your electric water heater.
An electric water heater typically consists of the following parts:
- Tank: A steel container that stores water, usually lined with glass to resist corrosion.
- Heating Elements: Electric coils that heat the water to the desired temperature.
- Thermostat: Controls and maintains the water temperature.
- Anode Rod: A metal rod (usually magnesium or aluminum) designed to attract corrosive minerals and protect the tank from rust.
- Cold-Water Inlet and Hot-Water Outlet: Pipes that manage water flow into and out of the tank.
- Drain Valve: Located at the bottom, used to flush out sediment.
Over time, natural minerals like calcium and magnesium accumulate at the bottom of the tank, forming sediment. This buildup insulates the water from the heating elements, forcing them to work harder, which leads to higher energy consumption, uneven heating, and internal corrosion.
Flushing the water heater at least once annually removes this sediment and restores optimal performance.
How Often Should You Maintain Your Water Heater?
Professional plumbers and water heater manufacturers generally recommend flushing the tank once every 12 months. However, the ideal frequency depends on several factors:
- Hard Water: If your home’s water supply contains high mineral content, flush the tank every 6 months to prevent rapid sediment buildup.
- Older Systems: Older heaters may require more frequent maintenance, as sediment accumulates faster.
- Noise Indicators: If your heater starts making rumbling, banging, or popping sounds, it’s a clear sign that sediment has hardened and needs removal immediately.
Regular maintenance not only preserves performance but also ensures that warranties remain valid — most manufacturers require routine servicing for warranty claims.
Step-by-Step Guide: How to Flush and Maintain an Electric Water Heater
Note: This guide applies to electric water heaters. For gas-powered units, some steps differ (particularly involving the pilot light and gas supply).
Step 1: Turn Off Power to the Water Heater
Locate your home’s electrical service panel and switch off the circuit breaker supplying power to the heater. This is a crucial safety step — never drain or touch a water heater while it’s powered.
Allow the water inside to cool for at least one to two hours before proceeding.
Step 2: Shut Off the Cold-Water Supply
Locate the cold-water inlet valve (usually positioned at the top of the unit) and turn it to the off position. This prevents additional water from entering the tank while you drain it.
Step 3: Connect a Hose to the Drain Valve
Attach a standard garden hose to the drain valve located at the base of the tank. Run the other end of the hose to a floor drain, bathtub, or outside area where hot water can safely discharge.
If you do not have access to a drain, use a heat-resistant bucket — but be prepared to empty it frequently.
Step 4: Open the Drain Valve
Slowly open the drain valve to begin releasing the water. The water may initially appear cloudy or rust-colored, which indicates the presence of sediment.
To help air flow and speed up drainage, open a hot-water faucet somewhere in your home — such as in a sink or bathtub.
Allow the tank to completely empty. This can take anywhere from 20 minutes to over an hour, depending on the size of your heater and the amount of buildup.
Step 5: Flush Out Remaining Sediment
Once the tank is nearly empty, turn the cold-water supply valve back on for 15–20 seconds, then turn it off. Repeat this process several times.
This short burst of incoming water stirs up any remaining sediment and flushes it out through the drain. Continue until the water exiting the hose runs clear and sediment-free.
Step 6: Close the Drain Valve and Refill the Tank
Close the drain valve tightly and disconnect the hose. Then, reopen the cold-water supply to refill the tank.
While refilling, leave one hot-water faucet open to allow air to escape from the system. Once water flows smoothly from the faucet, close it.
Step 7: Restore Power
After the tank is fully refilled, turn the circuit breaker back on. Allow the heater to reheat the water — typically within 60–90 minutes.
Your water heater is now flushed and ready to operate efficiently.
Why Annual Flushing is Essential
Regular flushing is not merely a recommendation; it is vital for ensuring your system’s efficiency and safety. Below are the key reasons it should be part of your annual maintenance routine:
1. Prevents Corrosion and Rust
Sediment buildup holds moisture against the tank’s inner surface, accelerating corrosion. Over time, this can lead to rust and leaks, often requiring full replacement of the unit.
2. Improves Energy Efficiency
Sediment acts as an insulating layer, forcing the heating elements to work harder and consume more electricity. A clean tank allows for faster, more efficient heating, potentially reducing energy costs by 10–15% annually.
3. Extends Equipment Lifespan
A water heater that’s regularly flushed can last 12–15 years, compared to 7–10 years for neglected systems. Routine maintenance reduces internal wear and prevents overheating.
4. Ensures Consistent Water Temperature
When sediment accumulates, water heating becomes uneven, leading to sudden bursts of cold water or fluctuating temperatures. A clean system maintains stable performance.
5. Prevents Noise and Overheating
Popping or rumbling sounds often indicate trapped air bubbles in hardened sediment layers. Flushing eliminates this debris, allowing the heater to operate quietly and safely.
Additional Maintenance Practices
While flushing is the most important task, full water heater maintenance also involves inspecting and maintaining several key components:
Inspect the Anode Rod
The anode rod is a critical element that prevents rust. Over time, it dissolves as it protects the steel tank. Check the rod every 2–3 years, and replace it if it’s heavily corroded or less than ½ inch thick.
Replacement costs are minimal (usually under $50) and can double the lifespan of the heater.
Test the Temperature and Pressure (T&P) Relief Valve
This safety valve releases pressure if the tank overheats or overpressurizes.
To test it:
- Place a bucket under the discharge pipe.
- Lift the valve’s lever slightly.
- Hot water should discharge briefly before the valve reseals.
If it leaks or fails to release water, have it replaced immediately.
Check the Thermostat Setting
Set the thermostat to 120°F (49°C). This temperature is ideal for comfort, energy efficiency, and preventing scalding. Each 10°F reduction can save approximately 3–5% on water heating costs.
Insulate the Tank and Pipes
Insulating the tank with an approved blanket kit reduces heat loss. Similarly, wrapping exposed hot-water pipes in foam insulation can improve energy efficiency and reduce waiting time for hot water.
Common Mistakes Homeowners Make
Avoid these frequent errors during maintenance:
- Failing to turn off power before draining — a major safety risk.
- Leaving the drain valve open after refilling, which leads to leaks.
- Using non-heat-resistant hoses that can melt or rupture.
- Ignoring other components like the anode rod or pressure valve.
- Allowing years to pass between maintenance sessions.
Consistency is key — set a yearly reminder to ensure maintenance is never overlooked.
Professional Maintenance vs. DIY
While homeowners can safely perform basic flushing and inspections, certain situations warrant professional help:
- The tank does not drain (indicating sediment blockage).
- The unit shows signs of rust or leaks.
- Electrical issues such as frequent breaker trips occur.
- You own a gas-powered heater, which involves more complex procedures.
Professional plumbers can also perform internal inspections, pressure testing, and element replacements, ensuring complete system reliability.
Real-World Example: Why Prevention Is Better Than Repair
Consider a common case: A homeowner neglects their water heater for over a decade. Over time, sediment builds up, the anode rod deteriorates, and corrosion eats through the bottom of the tank. One morning, the tank fails — spilling 40 gallons of water onto the floor.
The replacement cost for the heater alone might be $800–$1,500, but the resulting water damage could exceed $3,000–$5,000 in repairs.
Regular maintenance would have prevented this entirely. A simple annual flush costs nothing if done yourself and only about $100–$150 if handled by a professional.
Signs Your Water Heater Needs Immediate Attention
If you notice any of the following, maintenance or replacement may be overdue:
- Water takes longer to heat.
- Rust-colored or cloudy water.
- Rumbling or banging sounds.
- Reduced hot water volume.
- Water pooling around the tank base.
Addressing these issues early prevents major system failures.
Long-Term Maintenance and Energy Efficiency Tips
- Drain a few gallons of water every 3–4 months between full flushes in hard-water regions.
- Install a whole-house water softener to reduce mineral buildup.
- Schedule professional inspections every two years.
- Replace your unit proactively once it exceeds 12–15 years, especially if efficiency drops.
- For tankless water heaters, follow descaling procedures every 6–12 months.
These steps keep your hot-water system reliable, efficient, and safe.
Conclusion: Small Maintenance, Big Savings
Your water heater is one of the most valuable yet overlooked systems in your home. Regular maintenance, especially annual flushing, ensures maximum efficiency, prevents costly repairs, and extends the life of your investment.
By dedicating just a couple of hours each year to proper water heater maintenance, you protect your comfort, lower energy costs, and prevent unnecessary water damage.
Remember, a well-maintained heater isn’t just a convenience; it’s a safeguard for your home’s long-term value and efficiency.
Do Home Warranties Cover Electrical Problems?
Why Electrical Problems Keep Coming Back Even After Repairs?